How to Add and Animate Text in Alight Motion – Complete Guide (2026)
Do you know this is fast digital era, it is very important to get attention in the first few seconds. Adding dynamic, animated text to your videos isn’t just a stylish choice it’s a powerful tool for communication. It can convey context, highlight key points, or add a professional flair that makes your content stand out.
The Alight Motion is a strong-house for mobile video editing, and its text capabilities are second to none. This guide will walk you through everything, from adding your first title to creating complex, eye-catching text animations.
What is Alight Motion and Why Add Text?
The alight motion is a pro level software, Alight Motion is a objective and video editing app create for phones and tab. It bridges the gap between simple mobile editors and high-end desktop software like Adobe After Effects, offering multi-layer editing, vector graphics, and a vast library of visual effects.
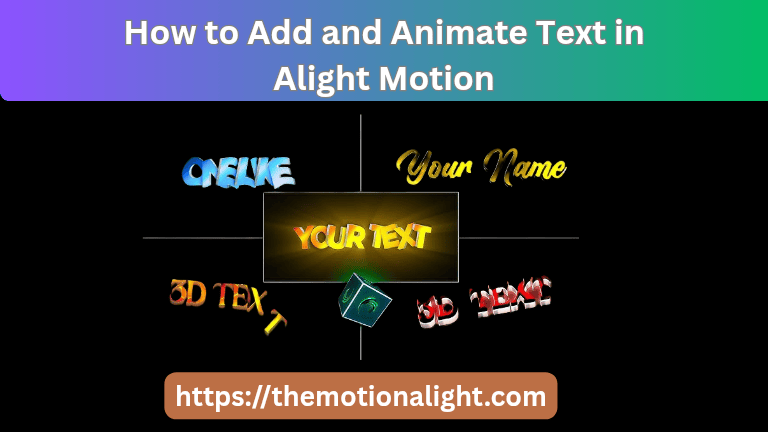
So, Why focus on adding text?
Context: Text will be best for title,subtitles, or show lyrics.
Emphasis: You can easily highlight any massage or call-to-action.
Branding: Do you know? you can add your brand name or social media handle.
Style: Do you know? Moving text is a popular trend that’s made videos more engaging.
Step-by-Step Guide to Add Text in Alight Motion
Let’s start with the fundamentals. Adding a simple, clean text layer is a straightforward process.
Step 1 – Start a New Project:
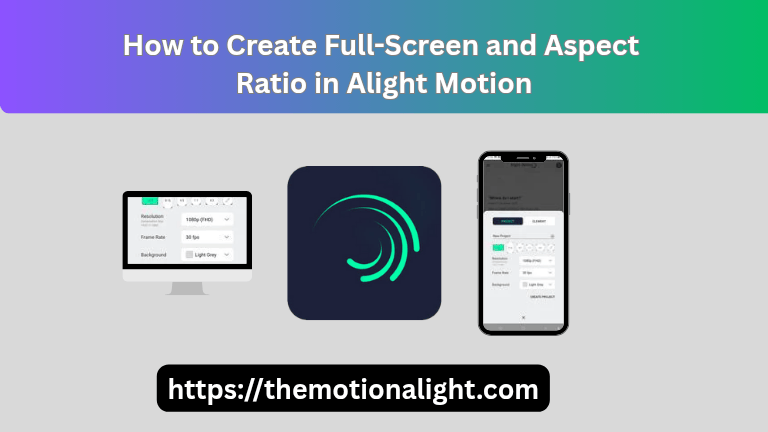
As you all know first open the Alight Motion app. You can tap the large green plus icon (+) at the rear end center of your screen.This will open the ‘Create Project’ menu.Here, you can select your aspect ratio (e.g., 16:9 for YouTube, 9:16 for TikTok/Reels), set your resolution (1080p is recommended), and choose a background color. Tap ‘Create Project’ to open your new timeline.
Step 2 – Import Media:
If you want your text to appear over a video or image, you need to import it first.Tap the plus icon (+) again, then select ‘Media’. Browse your phone’s gallery and select the video or image you want to use as your background.
Step 3 – Add a Text Layer:
Listen! You can use your own media on the timeline, press the plus icon (+) one’s again. From the menu, select ‘Text’. This will create a new text layer on your timeline and open the text editing interface.
Step 4 – Choose Font, Color & Style:
Before you type, you can set up your style.
Look at the options at the top of the screen:
Font: Tap the font name (e.g., “Robot”) to open a list of all available fonts.You can also import your own custom fonts from this menu.
Size: Tap the size (e.g., “18pt”) to adjust the text size with a slider.
Color: Tap the color circle to open the color picker and choose the exact shade you want.
Step 5 – Type and Edit Your Text:
Now, simply start typing your message using your phone’s keyboard. You will also see alignment options (left, center, right) to position your text within its text box.
Step 6 – Adjust Size, Position & Effects:
Once your text is typed, you can refine its placement. Select the text layer on your timeline.
To move: Simply drag the text with your finger on the preview screen.
To resize: Pinch to zoom in or out on the text.
For precise control: Use the ‘Move & Transform’ button.This gives you separate controls for position (moving), rotation (spinning), and scale (sizing).
You can also tap the ‘Effects’ tab to add simple enhancements like a Border or Shadow to make your text pop.
Step 7 – Preview & Export Your Video:
Drag the play-head on the timeline to see how your text looks with your video.If you’re happy with it, tap the export icon (a box with an arrow) in the top-right corner.Choose your format (Video), set your quality, and tap ‘Export’.
How to Animate Text in Alight Motion
This is where Alight Motion truly shines. Animating text involves using keyframes markers that tell the app where an animation should start and end. If You want to make your text more attractive, you can also add stylish Hindi fonts in Alight Motion for a creative look.
Step 1 – Set Up Key frames for Animation:
Let’s create a simple “slide-in” animation.
- Select your text layer on the timeline.· Tap ‘Move & Transform’.
- Move the play-head to the end point of your animation (e.g., at the 1-second mark).
- Tap the diamond (keyframe) icon to set a keyframe.This “locks in” the text’s final position.
- Now, move the play-head to the very beginning (0 seconds).
- Drag your text off the screen (e.g., to the left). A new keyframe will automatically be added.
Now, if you press play, your text will slide from its starting position (off-screen) to its final position (on-screen). You can use this same keyframe method to animate size, rotation, and even color!
Step 2 – Apply Glow, Blink & Mask Effects:
Keyframes are just the beginning. You can add powerful effects for professional results.
Glow: Select the text layer > Effects > Add Effect >
Glow: This adds a cinematic, neon-like bloom to your text.
Blink: Go to Add Effect > Opacity/Visibility > This will make your text flash on and off at a set frequency.
Mask: This is an advanced trick. You can use a shape layer to “mask” your text, making it appear as if it’s being “written on” or revealed.
Step 3 – Extend Text Duration & Layer Timing:
On the main timeline, your text layer will look like a blue or purple bar. To make the text stay on screen longer, tap the layer and drag the white handle at the very end of the bar to the right.To change when the text appears, tap and hold the middle of the bar and drag the entire layer left or right on the timeline.
Step 4 – Add Motion or Fade Transitions:
The easiest way to add a transition is with an effect.
Fade: Go to Add Effect > Opacity/Visibility > Fade In / Fade Out. This is a simple, clean way to make your text appear and disappear.
Smooth Motion: To make your keyframe animations (from Step 1) look smoother, use the Graph Editor.Between two keyframes, tap the graph icon. Instead of a straight line (linear), choose an “ease-out” curve.This will make your animation start fast and slow down gently, which looks much more professional.
Best Fonts for Alight Motion Text Animation
The font you choose dramatically impacts the feel of your video.
Sans-Serif (e.g., Montserrat, Bebas Neue, Roboto): These are clean, bold, and modern.They are the best choice for titles and are very easy to read when animated.
Serif (e.g., Play fair Display, Merriweather): These have small “feet” on the letters.They give an elegant, traditional, or cinematic feel.
Script (e.g., The Nautigal, Pacifico): These look like handwriting. Use them sparingly for a personal touch, as they can be hard to read when small or moving quickly.
Pro-Tip: Alight Motion lets you import custom fonts! If you find a font you love online (in .ttf or .otf format), you can add it to the app for a truly unique look.
Tips for Professional Typography in Videos
Readability is Key: If your audience can’t read it, don’t use it. Ensure your text is on screen long enough to be read.
Contrast is Your Friend: Use light text on dark backgrounds and dark text on light backgrounds. If your video background is “busy,” add a subtle Shadow or Border effect to your text to make it pop.
Less is More: Don’t clutter the screen.Use short, impactful phrases Stay in the Safe.
Zone: Avoid placing text right at the edge of the screen.Some TVs or phones might cut it off.Leave a small margin.
Common Text Issues & How to Fix Them:
Issue No 1 : My text looks blurry or pixelated.
Fix: Ensure your project resolution is high (1080p). Alight Motion’s text is vector-based, so it should be sharp.If it’s still blurry, you may be scaling it up too much.
Issue No 2 : My usage font isn’t showing up.
Fix: Do you know Make sure you right imported the font file via the ‘Import Fonts’ option in the font selection menu.reopen the app after importing.
Issue No 3 : My animation is too fast or too slow.
Fix: On the timeline, find your two keyframes (the diamonds). To slow the animation, drag the second keyframe further away from the first. To speed it up, move them closer together.
Pros & Cons of Adding Text in Alight Motion:
Pros:
Full Control: Do you know reference frame and graph improve give you precise control over every aspect of the animation.
Vast Effects Library: You can create bundle of stacks by adding multiple effects (like glow, blur, and color) on a single text layer.
Vector-Based: In the Alight Motion text stays sharp and clean at any size.
All-in-One: No need to use another app to create your text; it’s all done inside your editor.
Cons:
Steep Learning Curve: Keyframes and the graph editor can be puzzle for absolute beginners.
Resource Heavy: Very complex text animations with many effects can cause lag on older phones.
Watermark: The free version places a watermark on your final video.
Conclusion:
Adding text in Alight Motion is a expertise that which scale with your capability. You can start today with a simple title and, with practice, move on to creating the complex, professional motion graphics you see in high-end videos.The key is to master the basics of layers and keyframes. Once you understand how these two elements work together, you’ll unlock the full creative potential of the app. So open a new project, start typing, and bring your words to life!

